How To Fix Drywall Bubbles: A Comprehensive Guide For Homeowners
Ever walked into a room and noticed your drywall looks like it’s having a bad hair day? Yeah, those pesky drywall bubbles can be a real eyesore. But don’t panic—fixing them isn’t as hard as it seems. Whether you’re a seasoned DIYer or just starting out, we’ve got your back. Let’s dive into how to fix drywall bubbles and get your walls looking smooth again!
First things first, drywall bubbles are basically areas where the drywall surface has lifted or separated from the underlying material. This can happen for a number of reasons, from moisture damage to poor installation. The good news? With the right tools and a bit of know-how, you can tackle this problem like a pro.
In this guide, we’ll walk you through everything you need to know about fixing drywall bubbles, step by step. From identifying the root cause to applying the final touch, we’ve got all the tips and tricks to make your walls look flawless. So, grab your tools and let’s get started!
Read also:Who Is The Lululemon Founder Unveiling The Visionary Behind The Brand
Understanding Drywall Bubbles: What Are They and Why Do They Happen?
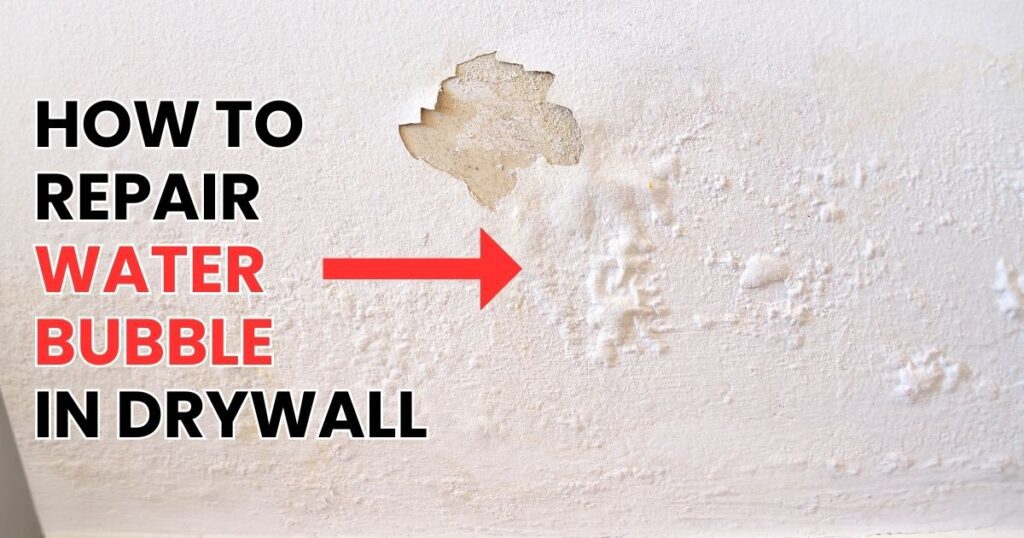
Before we jump into the nitty-gritty of fixing drywall bubbles, let’s take a moment to understand what they are and why they occur. Drywall bubbles are essentially bumps or raised areas on your wall that form when the paper layer of the drywall separates from the gypsum core. It’s kind of like when your favorite shirt gets a bubble from being washed too many times—annoying, but fixable!
Common Causes of Drywall Bubbles
So, why do drywall bubbles happen? Here’s a quick rundown of the most common culprits:
- Moisture Damage: Water exposure is one of the leading causes of drywall bubbles. If your walls have been exposed to leaks or high humidity, the paper layer can absorb moisture and start to peel away.
- Poor Installation: Sometimes, drywall bubbles are the result of improper installation. If the drywall wasn’t properly secured to the studs, it can lead to lifting and bubbling over time.
- Heat and Humidity: Extreme temperature changes can also cause drywall to expand and contract, leading to bubbles. Think of it like your car in the summer—it gets all puffy and swollen!
- Age: Let’s face it—drywall isn’t immortal. As it ages, the adhesive that holds the paper layer to the gypsum core can weaken, causing bubbles to form.
How to Identify Drywall Bubbles
Now that we know what causes drywall bubbles, let’s talk about how to spot them. Sometimes, they’re obvious—like a big, swollen bump on your wall. Other times, they can be more subtle, blending in with the texture of the wall. Here’s how to identify drywall bubbles:
Visual Inspection
The first step is to give your walls a good once-over. Look for any raised areas or bumps that don’t belong. If you notice any discoloration or water stains, that’s a red flag for moisture damage. Pro tip: Use a flashlight to help spot subtle imperfections—shine it across the wall at an angle to highlight any bumps or cracks.
Touch Test
Once you’ve identified potential problem areas, give them a gentle press with your fingers. If the surface feels soft or spongy, chances are you’ve got a drywall bubble on your hands. Don’t push too hard, though—you don’t want to make the problem worse!
Gathering Your Tools: What You’ll Need to Fix Drywall Bubbles
Now that you’ve identified the problem, it’s time to gather your tools. Having the right tools on hand will make the repair process much easier. Here’s what you’ll need:
Read also:Discovering Woo Dohwan Biography Career And Influence
- Utility knife
- Sanding block or sandpaper
- Drywall compound (also known as joint compound)
- Putty knife
- Primer and paint
- Drop cloth or plastic sheeting
- Safety goggles and gloves
Pro tip: If you’re dealing with moisture damage, you might also need a dehumidifier or fan to help dry out the affected area before starting repairs.
Step-by-Step Guide: How to Fix Drywall Bubbles
Alright, let’s get down to business. Here’s a step-by-step guide to fixing drywall bubbles:
Step 1: Prepare the Area
Before you start, clear the area around the affected wall. Move any furniture away and cover the floor with a drop cloth or plastic sheeting to protect it from dust and debris. Don your safety goggles and gloves to stay safe while you work.
Step 2: Cut Away the Bubble
Using a utility knife, carefully cut away the bubbled area. You’ll want to make a clean cut, removing the damaged paper layer and exposing the gypsum core underneath. Don’t worry if it looks a little rough at first—we’ll smooth it out later.
Step 3: Sand the Area
Once you’ve removed the bubble, use a sanding block or sandpaper to smooth out the exposed area. This will help create a clean surface for the drywall compound to adhere to. Be gentle—too much pressure can damage the surrounding wall.
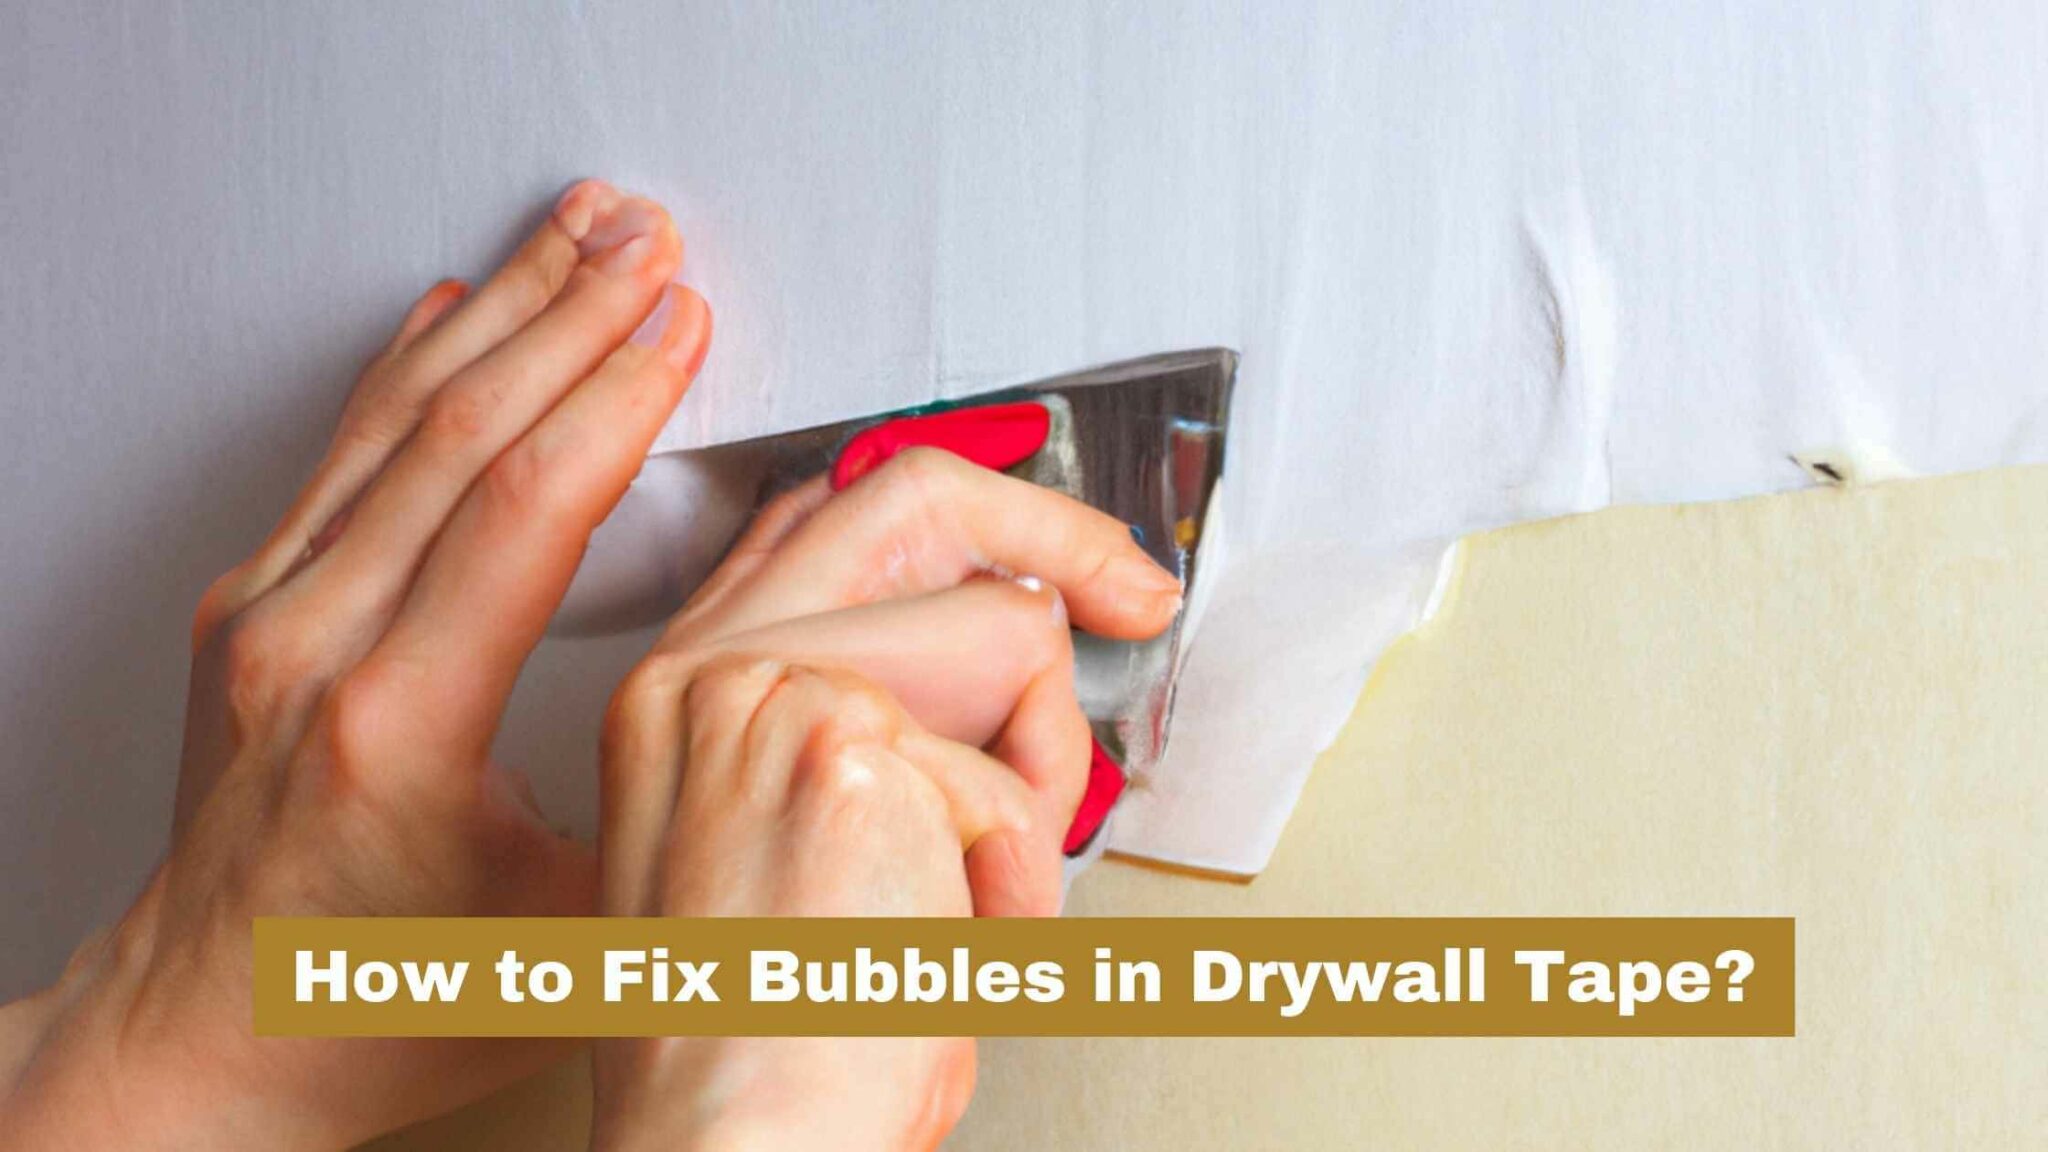
Step 4: Apply Drywall Compound
Using a putty knife, apply a thin layer of drywall compound over the repaired area. Spread it evenly, making sure to cover the entire damaged section. Let it dry according to the manufacturer’s instructions—usually a few hours.
Step 5: Sand Again
Once the compound is dry, give the area another light sanding to smooth it out. This will help ensure a seamless finish when you apply paint later on.
Step 6: Prime and Paint
Finally, apply a coat of primer to the repaired area to help the paint adhere properly. Once the primer is dry, paint over the area with a matching color to blend it in with the rest of the wall. Voilà! Your wall should look as good as new.
Tips and Tricks for Fixing Drywall Bubbles
Here are a few extra tips to help you get the best results when fixing drywall bubbles:
- Work in Small Sections: If you’re dealing with multiple bubbles, tackle them one at a time to avoid overwhelming yourself.
- Use Quality Materials: Invest in good-quality drywall compound and paint for a more durable finish.
- Be Patient: Don’t rush the drying process—letting the compound dry completely will help prevent cracks or imperfections later on.
- Check for Moisture: If moisture is the root cause of your drywall bubbles, make sure to address the source of the problem before starting repairs.
Common Mistakes to Avoid When Fixing Drywall Bubbles
While fixing drywall bubbles might seem straightforward, there are a few common mistakes that can trip up even the most experienced DIYers. Here’s what to watch out for:
- Not Addressing the Root Cause: If moisture or poor installation is the issue, simply patching the bubble won’t solve the problem. Make sure to fix the underlying issue first.
- Using Too Much Compound: Applying too much drywall compound can lead to a lumpy finish. Stick to thin, even layers for the best results.
- Skipping the Primer: Primer is key to ensuring the paint adheres properly. Skipping this step can result in an uneven finish.
When to Call a Professional
While most drywall bubble repairs can be tackled by DIYers, there are times when it’s best to call in a professional. If the damage is extensive or if you suspect structural issues, it’s worth consulting an expert. They’ll have the tools and experience to fix the problem properly and prevent future issues.
Cost of Fixing Drywall Bubbles
Fixing drywall bubbles can be a cost-effective solution compared to replacing the entire wall. On average, DIY repairs can cost as little as $20–$50 for materials. If you decide to hire a professional, expect to pay anywhere from $100–$300, depending on the extent of the damage and your location.
Final Thoughts: Smooth Walls, Happy Home
And there you have it—a comprehensive guide to fixing drywall bubbles. Whether you’re dealing with a small bubble or a larger issue, following these steps will help you restore your walls to their former glory. Remember, the key to success is preparation, patience, and quality materials.
So, what are you waiting for? Grab your tools and get to work! And don’t forget to share your results in the comments below—we’d love to see how your walls turned out. Happy fixing!
Daftar Isi
- Understanding Drywall Bubbles: What Are They and Why Do They Happen?
- How to Identify Drywall Bubbles
- Gathering Your Tools: What You’ll Need to Fix Drywall Bubbles
- Step-by-Step Guide: How to Fix Drywall Bubbles
- Tips and Tricks for Fixing Drywall Bubbles
- Common Mistakes to Avoid When Fixing Drywall Bubbles
- When to Call a Professional
- Cost of Fixing Drywall Bubbles
- Final Thoughts: Smooth Walls, Happy Home
Article Recommendations